Get Better Recordings and Mixes from Your Home Studio | Essential Tips
“Audio recording and mixing is an art in itself.”
It takes time to find your own techniques and develop a unique sound whether it is musical or for audio mixing. No lessons or tutorials will make you the best you can be overnight. Only working at something with consistency, diligence and passion will perfect your craft.
These simple tips will help you get your projects done faster, with better quality, and guide you to develop technical knowledge to start producing professional results. I have developed these tips over many years from trial and error and I am still learning after 20 years in the industry.
1. Acoustically Treat Your Studio
One important issue that people overlook is sound treatment. Now, we say sound treatment because we are not soundproofing here. Soundproofing is when you isolate and block sound from transmitting to another room or space and vice versa. Here we want to reduce sound reflections and bass.
Mixes not translating?
If you have an untreated room, you may find that you are not getting accurate references to your mixes. Ever mix your song and play it in your car just to find you had too much or too little bass? This is because your room may amplify the bass or absorb too much bass in the room.
There might be a lot of sound reflections causing you to make the wrong EQ choices. You will need to treat the room with bass traps and acoustic foam.
Trying to mix audio in an untreated room with bad acoustics is like trying to paint blindfolded or with foggy glasses. You can still paint and get a sense of the space, but the result will be less than desired.
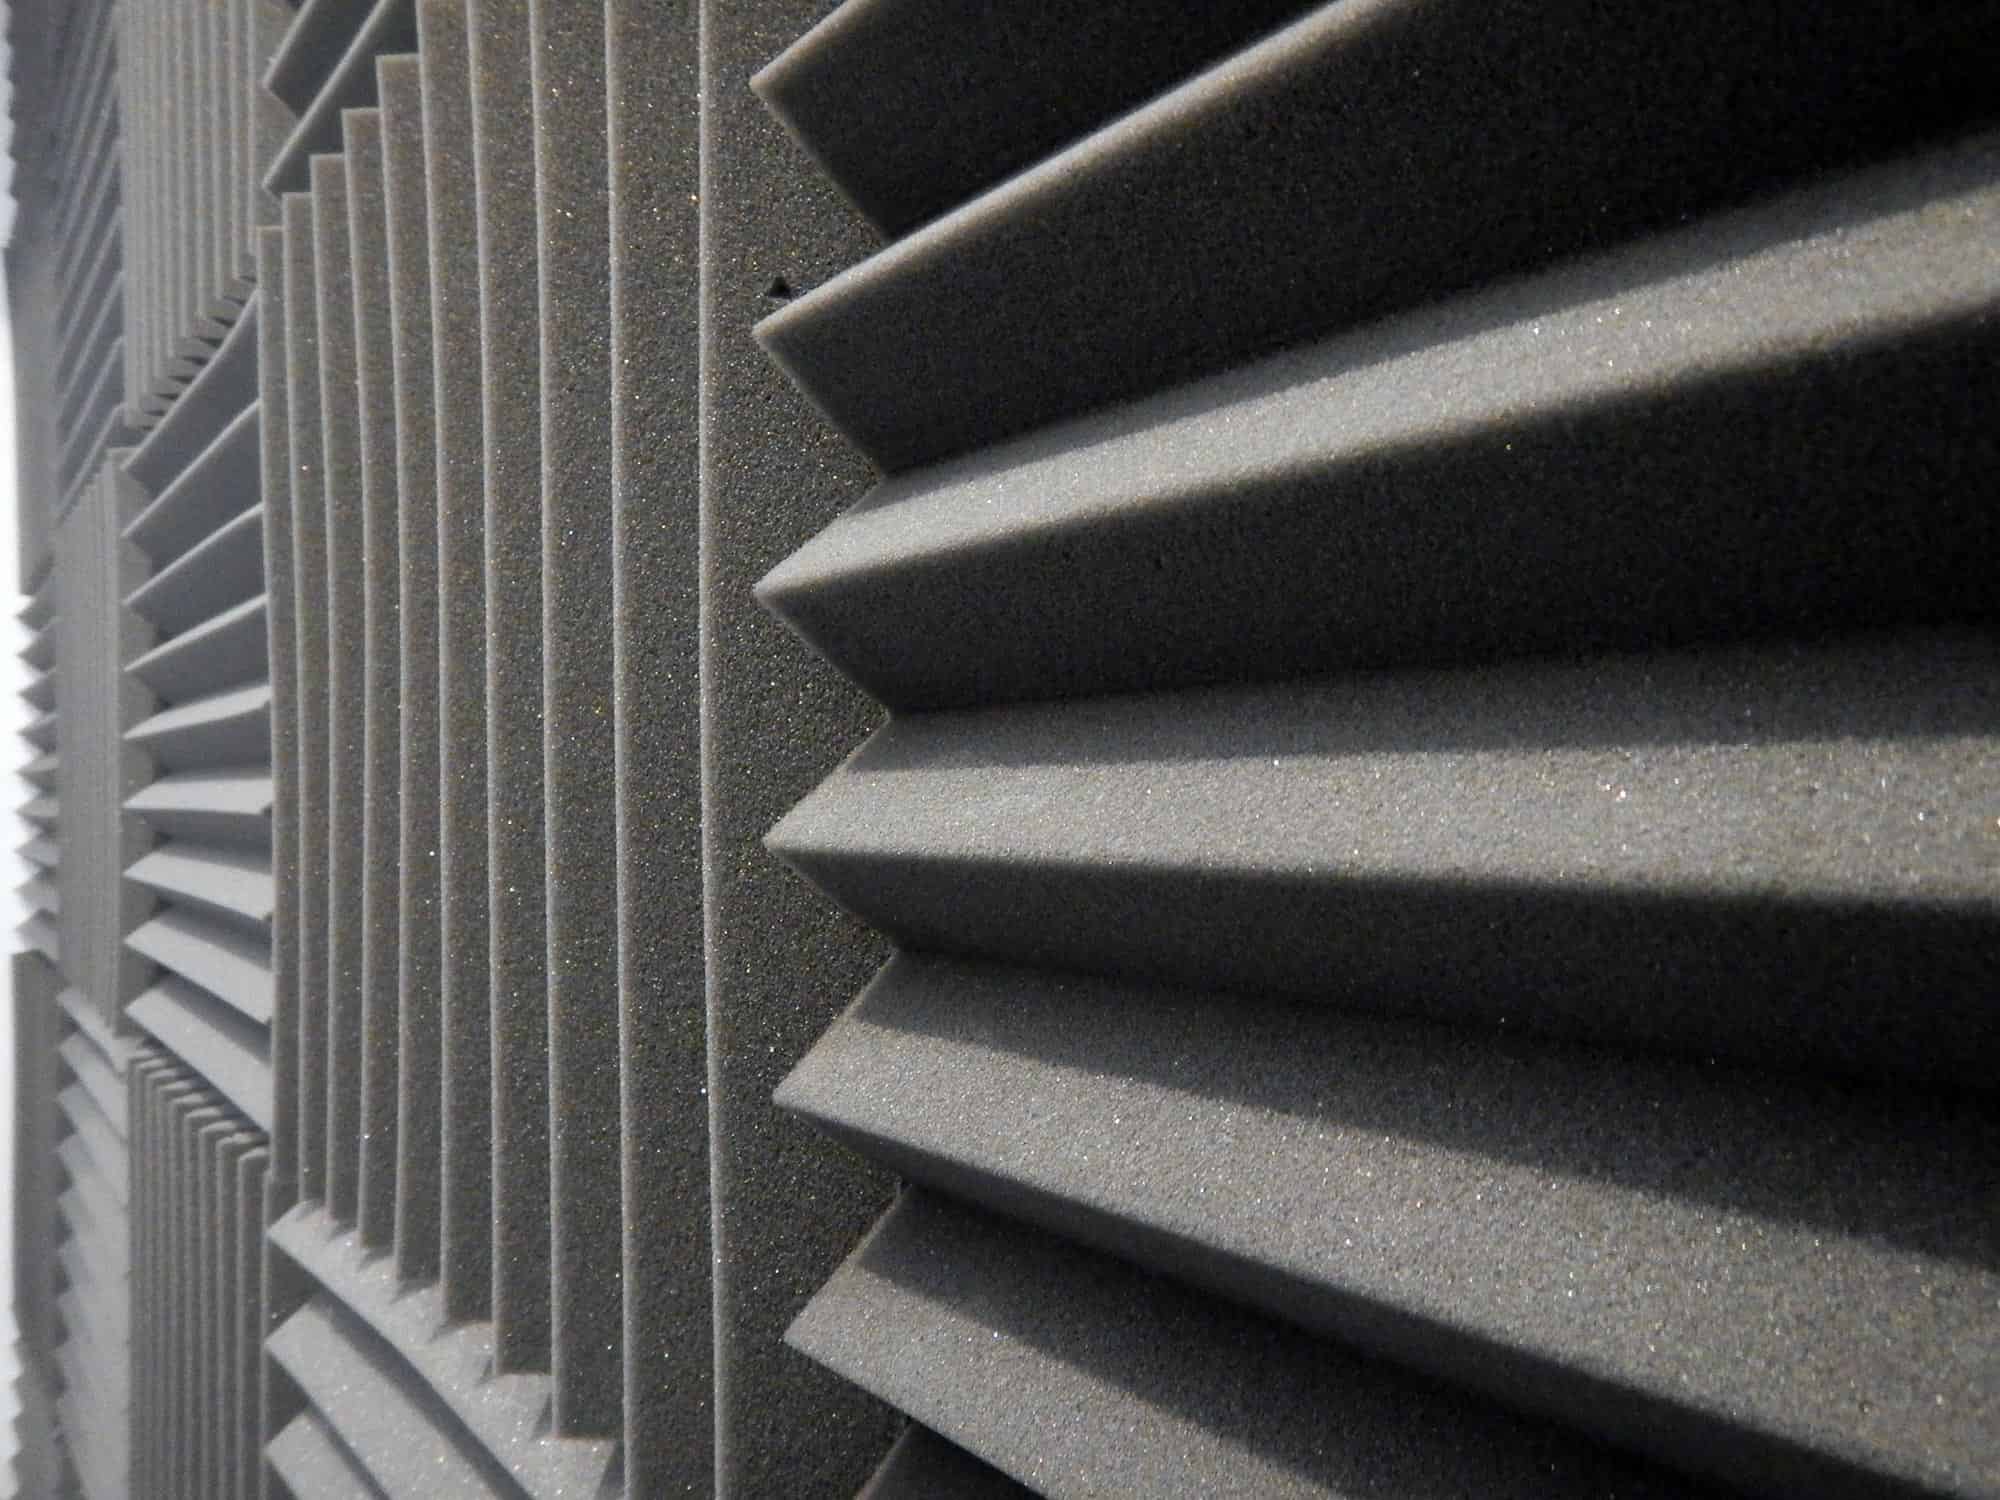
Acoustic foam panels can help reductive flutter echo and reflections from walls. This type of sound treatment is good for high to high-mid frequencies. Photo created by sid4rtproduction – www.freepik.com
It is the same for audio mixing. You want to hear all the audio frequencies correctly and make the right mix decisions so it will translate to all listening situations.
- Use bass traps in the corners that may reflect sound and build up the bass. This is a very important treatment to make. It will also reduce flutter echos.
- Get rid of reflective items in the studio that may cause sound issues. This includes mirrors, metal objects, metal trash cans, and flat surfaces.
- Carpet treat the floor. This will save you money on treating the ceiling.
- Add studio absorption wall foam to certain parts of the wall. You can have someone move a mirror around the walls while you sit in the mixing position. Anytime you see a speaker in the mirror, that section of the wall needs to be treated with an acoustic panel.
Need help designing your home recording studio? Contact us
2. Invest in a Quality Microphone and Interface
If you are recording live sound sources such as voice and instruments, you need to make sure you have a quality microphone and preamp to capture the sound. If you use a cheap microphone and preamp, your result will suffer. The mixing process will be more difficult and the final mix will never be as good as it could have been.
3. Make a Session Template
In your audio software program, make a session template. This is a template with all the tracks labeled, basic plug-ins inserted on each track, sends with buses, and initial settings for recording.
You will use the custom templates when starting a new project. The goal here is to save time! You will be amazed how much time you will save in the production process with specific templates designed for sessions and artists.
You can make session templates like the following:
- 2.0 stereo
- 5.1 surround sound
- hip hop, pop, rock, classical, etc.
- Commercial and post audio
- Mixing and mastering sessions
4. Make Custom Presets for each Artist
Another great tip is to make individual plug-in settings for each artist you record. This way when you record, you just bring up the plug-in setting for the artist and you are ready to go.
You will save time preparing and processing the tracks during a session. Each artist should have a custom preset. One preset for one artist won’t necessarily work for another.
5. Record with Flat EQ and Light Compression at the Front-end
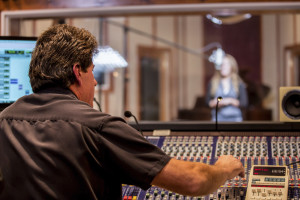
Audio engineer recording an artist in the production studio.
Have you ever had to re-record or punch in a vocal performance days later? After you have re-recorded, does the new recording sound different and just doesn’t blend in with the previous takes?
You then spend hours trying to EQ and process the track to no avail. This is because the settings are different at the front end of the recording chain.
The Front-end Settings
The most critical setting to keep consistent is at the front-end of the DAW. You want your mic, preamp, mixer, and interface to be at the default setting as you go from session to session. This will keep continuity to your productions when recording. You should change and customize the tracks inside the DAW to fine-tune the sound without changing the original audio signal.
Audio Compression and Filtering
Use light compression, just enough to tame the dynamics of the vocal performance or instrument while recording. You can never remove compression on audio after it’s been recorded. You can add as much compression as your heart desires after the fact in the DAW.
If your microphone is picking up a lot of low-end rumbles, you can try enabling a high-pass filter on the microphone itself (if it has a high-pass filter) or on the interface. Try not to filter out low frequency above 75Hz.
6. Organize and Mix as you Record
During the recording stage, you want to EQ and mix as you record. This will save you time during mixing. Before recording, get a microphone test with the artist.
Compress and EQ the vocal with the plug-ins and not at the front-end. When you get the settings perfect, just copy and paste each plug-in setting to the next recorded track. Don’t forget to label each track in the session as well.
The Master Bus
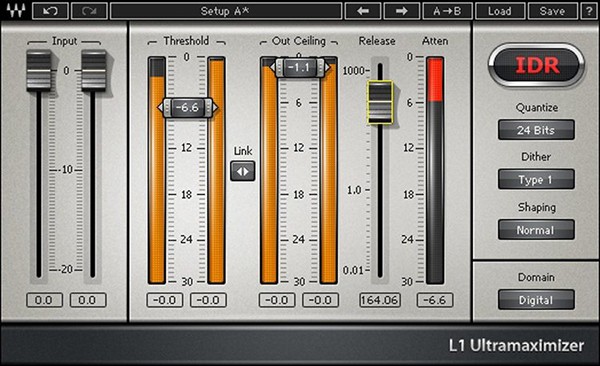
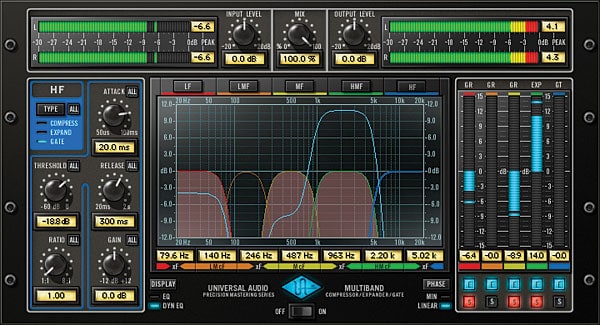
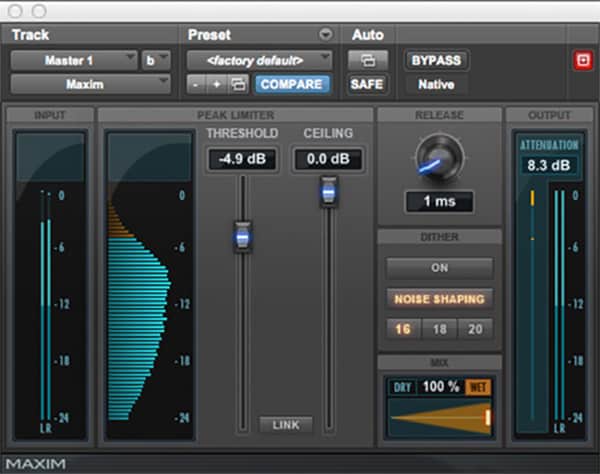
On the master bus, put an EQ and maximizer plug-in. (There are many maximizer plug-ins. Find the one that works best for you in your audio program.) This will give you an idea of how the mastered track will sound.
Without the maximizer plugin, levels will be softer and less impacting for you to reference. Vocals and instruments will not be as upfront as it would going through a maximizer plug-in. This will give you an idea of how to mix the session before it goes to mastering. These steps are very important because you don’t want your track to change drastically during mastering.
Popular Maximizer Plug-ins
The Peak Level
As a general rule, the mix peak level should be around –5 dB from absolute ‘0’ dBFS before adding any compressors, limiters, and maximizers on the master bus. When you send the final mix to get mastered, remember to remove any limiters, compressors, or maximizes on the master.
7. Different Types of Reference Speakers
One of the things to remember is that mixing on studio speakers does not really give you a reference to how it will sound on a boom box or car speakers. Buy a cheap boom box with an aux input and hook it up to the system.
You will switch between the studio speakers and boom box during the mixing and mastering stage. This will give perspective if the levels are mixed right. On the boom box, switch the different user settings such as classic, rock, pop, vocal, and so on.
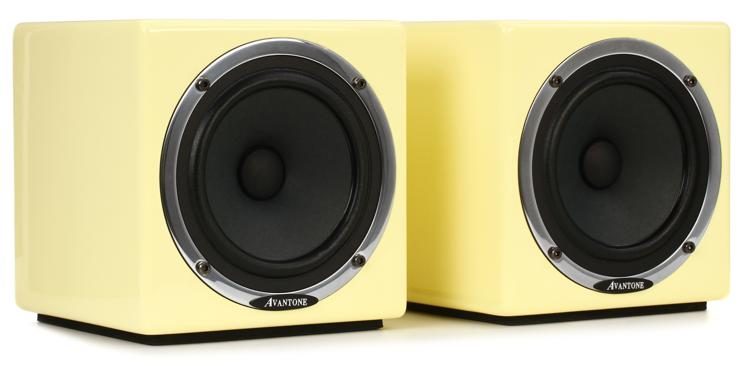
If you want to stick with a studio monitor and not a boom box, I recommend the Avantone MixCubes. These speakers give the ability to hear what your mixes will sound like on bass-challenged real-world systems such as computers, televisions, car stereos, and iPod docking stations. You will probably see the MixCubes in most major recording and audio post mixing stages.
8. Recommended Do’s and Don’ts
Don’t get into the mode and say, “Oh, I’ll just fix it in post and mastering.” Always, fix any problems during the recording and production process. Mixing gives you more options than mastering.
When you mix and master your tracks, you may go back and forth in the process. Say that you are in the mastering stage and just realized that the bass is too loud. Instead of lowering the bass EQ which will affect other instruments during mastering, go back to the mix and lower the bass track in the session. Then go back to master it. That’s why you have the maximizer plug-in on the master bus in the mixing stage so you don’t have to go back and forth.
With these tips, you should be on your way to making great productions.

