Collaborating with Video Editors, Producers & Teams | Audio Post Guide
In the dynamic world of media production, a successful project hinges on effective collaboration, especially when working across different creative disciplines. For those of us in the audio post-production realm, a smooth partnership with video editors, producers, and teams is paramount. This isn’t just about sharing files; it’s about establishing practices that minimize headaches, maximize efficiency, and ultimately lead to a polished final product.
Here is a guide and tips for fostering seamless collaboration with your video editor, focusing on file exchange protocols like AAF/OMF and best practices for synchronization.
1. Communication & Audio Specs are Essential
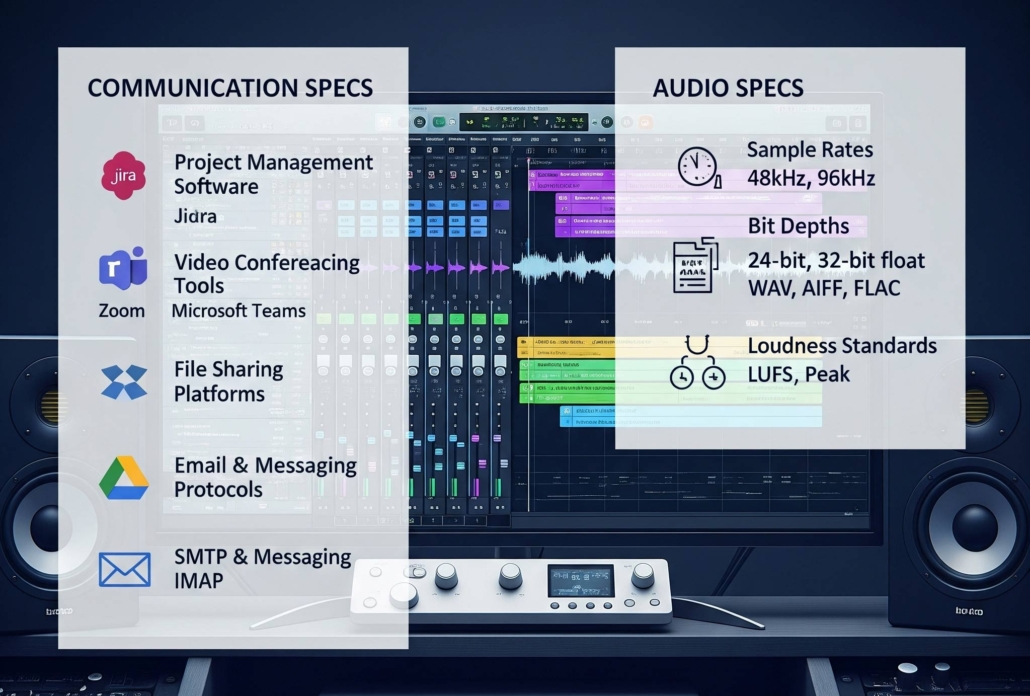 Before any files even change hands, open and consistent communication is your most powerful tool.
- The Project Briefing: A formal kick-off meeting should be a deep dive into the project’s creative vision. Understanding the producer’s and director’s aesthetic goals—whether it’s a gritty, realistic soundscape or a fantastical, stylized one—is crucial. For example, if the project is a horror film, you would discuss the use of sound design to build tension, such as using low-frequency rumbles or subtle, unsettling Foley.
- The Spec Sheet: This document should be your holy grail. It’s a comprehensive guide that outlines everything you need for audio post-production. It should include:
- File Naming Conventions: A clear system for how all files (ADR, SFX, music) will be named.
- Technical Audio Specifications: Required sample rates for audio post-production are typically 48kHz for film and television, and 96kHz for high-resolution audio. The standard bit depth is 24-bit for professional work. Delivery formats for audio are almost always WAV or AIFF, as these are uncompressed, high-quality formats.
- Required Delivery Stems: A list of the final audio stems needed, such as Dialogue, Music, Sound Effects, and ADR.
- Video Technical Specifications: A clear list of audio post-video formats, codecs, frame rates and and burn-in timecode (BITC).
- Project End Delivery Format: Before starting any audio work, confirm the final delivery format with the client or producer. This is a crucial step as the required mix format varies significantly depending on the project’s destination. Is the audio to be mixed for theatrical, streaming, broadcast, or web?
- File Review and Confirmation: Before a project is officially approved to start, a critical file review and confirmation process is necessary. This involves receiving the delivered files and thoroughly checking them for any errors or issues. The purpose is to catch potential problems early, as file errors can significantly hinder the production timeline and lead to costly delays. Once all files have been evaluated and confirmed to be in order, the project can officially begin.
- Defining a Shared Vocabulary: Miscommunication often stems from different interpretations of technical jargon. For instance, a “mix reference” for a video editor might be the rough, unmixed audio on their timeline, while for an audio mixer, it’s a stereo file of a professionally mixed and mastered track used for comparison. Clarifying these terms upfront prevents confusion.
- Establish a Shared Vocabulary: Ensure you both understand terms like “temp track,” “sound design elements,” “mix references,” and “stems.”
- Specify Milestones and Deadlines: Ensure everyone is aligned on the timeline for production and delivery.
- Regular Check-ins: Don’t wait until the last minute to address potential issues. Regular, brief check-ins can prevent small problems from becoming huge ones.
- Project Review and Approval: Utilize applications like Frame.io, Dropbox Replay, or Wipster for a centralized review process. These platforms allow clients and stakeholders to add time-coded comments and visual annotations directly onto the video. This ensures feedback is precise and easy to track. Once the final audio and video are approved, the client can formally sign off on the version within the platform, creating a clear and documented record of final approval.
2. Understanding AAF and OMF: Your Audio Workflow Powerhouses
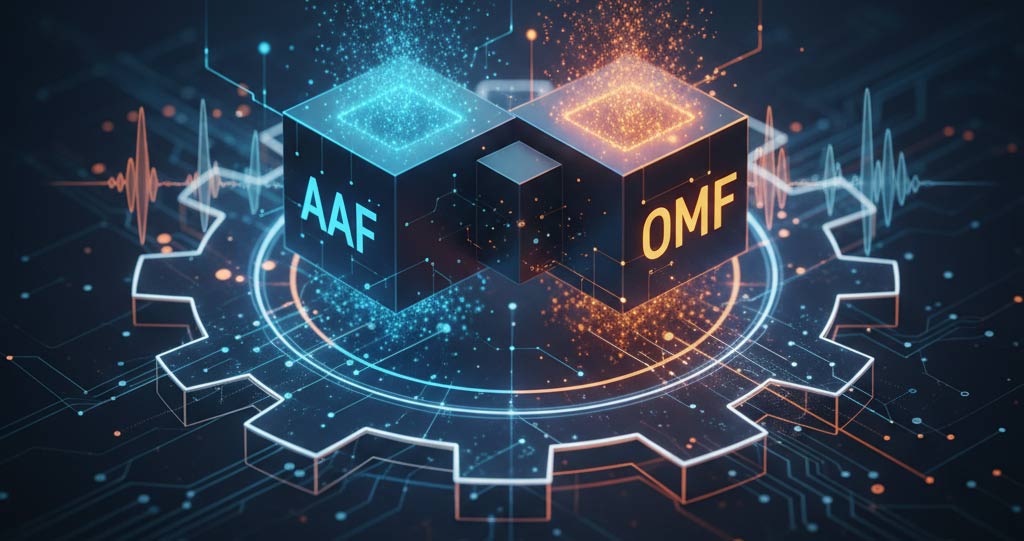 When it comes to transferring audio from a video editor’s timeline to a DAW (Digital Audio Workstation), AAF (Advanced Authoring Format) and OMF (Open Media Framework) are your best friends. They are essentially containers that hold audio clips, their edits, volume automation, and even basic fades, allowing you to reconstruct the video editor’s audio timeline in your DAW.
- AAF (Advanced Authoring Format): Generally preferred over OMF due to its more robust capabilities. AAF can handle more tracks, longer projects, higher sample rates, and can embed or link to media more effectively. It also supports more metadata.
- OMF (Open Media Framework): A more legacy format, but still widely used. OMF typically embeds audio files directly within the OMF file itself, which can make for large files. It has limitations on track count and overall project length.
Best Practices for AAF/OMF Export:
- Consolidate & Trim: Before exporting, ask the editor to consolidate and trim media. This means the AAF/OMF file will only contain the audio clips used in the timeline, with a specified amount of “handles” (extra audio before and after each clip). 5-10 second handles are a good starting point, providing flexibility for fades and minor adjustments without needing to re-import source material.
- Remove Unused Tracks: If there are empty or unnecessary audio tracks in the video editor’s timeline, have them removed to keep the AAF/OMF clean.
- Embed vs. Link: Discuss whether to embed the audio media within the AAF/OMF file or to link to external media. Embedding is often simpler for smaller projects, but linking can be more efficient for larger ones, especially if media is stored on a shared server.
- No Plugins/Processing: Emphasize that no audio plugins or complex processing should be applied to the audio before export. You want the raw, unadulterated audio so you can do your magic in the DAW. If effects have been added to a core part of the sound, ask to export it as processed stems.”
- Version Control: Always label AAF/OMF exports clearly with version numbers (e.g., “ProjectName_AAF_v1,” “ProjectName_AAF_v2_PictureLock”).
3. Sync Best Practices: Keeping Everything in Time
 Nothing is more frustrating than receiving audio that’s out of sync with the picture. Here’s how to prevent that:
- Common Frame Rate: Ensure both you and the video editors are working at the same frame rate from the very beginning of the project. This seems obvious, but discrepancies can creep in and cause major sync issues later.
- Timecode Alignment:
- Start Timecode: Agree on a universal start timecode for the project. Many productions use 01:00:00:00 to give some lead-in time before the actual content begins.
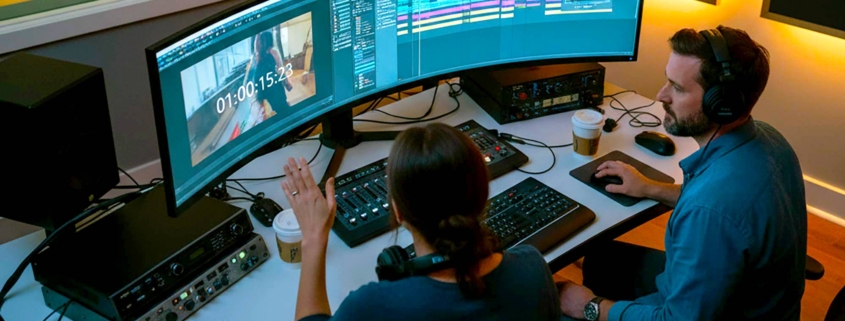
- Burn-in Timecode: Request that the video editors export a reference video with “burn-in timecode” visible on screen. This is an invaluable visual cue for double-checking sync in your DAW.
- Picture Lock: Clearly establish when “picture lock” occurs. This is the point where the video editor commits to no more changes in the video edit. While some minor tweaks might still happen, reaching picture lock is crucial for you to finalize your audio work without constant re-syncing.
- Reference Video Exports:
- Low-Res H.264: Always request a low-resolution H.264 video file of the current edit from your editor. This is your visual guide. Ensure it has the burn-in timecode and the reference audio mix.
- Consistent File Naming: Encourage consistent naming conventions for these video references, including the date and version number (e.g., “ProjectName_Edit_2023-10-26_v7.mov”).
4. Beyond the Technical: Fostering a Collaborative Spirit
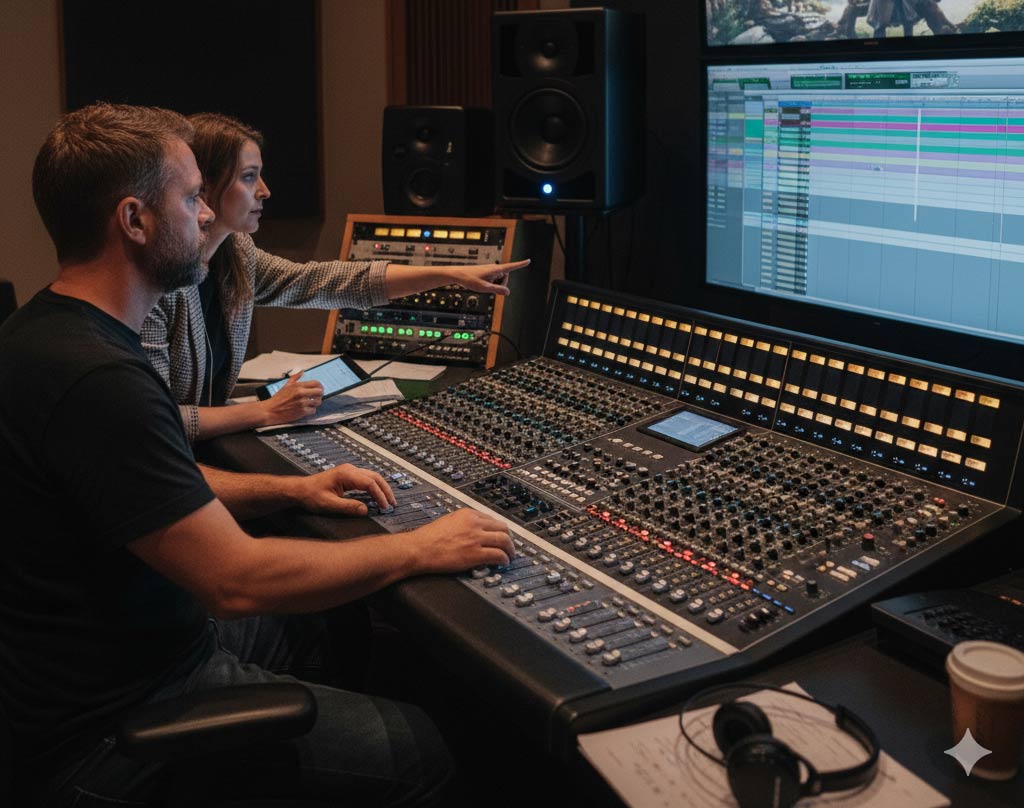
As an audio engineer, your expertise is a vital component of any production, but the final project is a collaborative effort. By building a strong, respectful relationship with your video editors and the producer, you ensure the entire team works in harmony. The following points will help you, as an audio professional, navigate these relationships, providing you with the tools to deliver your best work while contributing to a seamless and efficient workflow for the entire project.
- Respect Each Other’s Craft:Understand that video editing and audio post-production are distinct and complex disciplines. Respect the time and effort your editor puts into their work, and expect the same in return.
- Provide Constructive Feedback: When you deliver your audio, be open to feedback, and when you give feedback on the video edit, do so constructively.
- Be Flexible: Production is rarely a straight line. Be prepared for unexpected changes and be flexible in your approach.
- Share Your Expertise: Don’t be afraid to offer insights or suggestions from an audio perspective that might benefit the overall project.
By implementing these tips, you’ll not only streamline your workflow but also build stronger, more effective relationships with your video editing partners. The result? Projects that run smoothly, sound fantastic, and look incredible.

