Exporting an AAF file from DaVinci Resolve for Importing into Pro Tools
When it comes to sending your unmixed audio files to an audio post-production house for final mixing, Pro Tools is likely to be the go-to digital audio workstation (DAW). In this informative article, we will guide you through the process of exporting audio files from DaVinci Resolve.
What is an AAF file?
An AAF file, which stands for Advanced Authoring Format, is a widely used file format in the realm of audio production. It serves as a means of exchanging project data between different software applications and platforms with the ability to retain essential metadata and media references.
DaVinci Resolve Pro Tools Export Option
Regarding the exporting process, the Resolve manual emphasizes that when using the Pro Tools preset, users should utilize the automatically generated AAF file that is specifically designed for Pro Tools. This file not only contains path names reflecting the rendered clips but also ensures compatibility and seamless integration with Pro Tools software. We have experienced glitched audio and errors in the Pro Tools timeline when the preset was not selected in DaVinci.
Disable AAF/XML Command
It is crucial to note that when exporting an AAF for Pro Tools, using the Export AAF/XML command is not recommended. This will result in many compatibility issues when imported into Pro Tools. By adhering to these guidelines, audio professionals can ensure a seamless and productive workflow.
Do not use special or accented characters
When naming clips and sequences, it’s a good practice to not use special characters, accented characters, or characters that may affect the export of an AAF file. Try to not use characters like /, >, <, !, ®, ü, &, Ø, Æ, Å, @, etc. This will result in a corrupted AAF file. Always stick with clear labeling such as “clip_1_01”.
Make sure to stay up-to-date with the latest versions of DaVinci Resolve and Pro Tools
In order to avoid any potential audio glitches and errors during the import process into Pro Tools, it is highly recommended to have the latest versions of both DaVinci and Pro Tools.
Updating your software ensures a seamless experience and eliminates any compatibility issues that may arise from using older versions. Stay up-to-date with the latest software releases to ensure smooth audio production without any interruptions or technical hiccups.
You may find the latest versions here:
Note: Be sure to also confirm the latest version is compatible with your OS before installing or upgrading.
Exporting an AAF from DaVinci Resolve
Exporting an AAF (Advanced Authoring Format) file from DaVinci Resolve for use in Pro Tools involves a few steps. AAF is a common format for transferring project timelines and audio files between different post-production applications. Here’s how you can do it:
1. Prepare Your Timeline
Ensure your project timeline in DaVinci Resolve is properly organized, and all the clips, audio tracks, and edits are as you want them to appear in Pro Tools. The utilization of organizing the audio files will greatly satisfy the audio engineer and significantly enhance the efficiency of the mixing process.
You can create a copy of the session in Resolve when you start to organize the files for the AAF export. This way you retain all your files and the original edits in the master session.
2. Selecting the Pro Tools Preset
The latest version of DaVinci has a Pro Tools preset built into the AAF export. Older versions may not have this option.

Easily access the Deliver tab by simply clicking on the Rocket icon located at the bottom of the main Resolve window. Within the Deliver tab, navigate to the Render Setting by the bottom slider. By using this preset, DaVinci Resolve will provide you with a comprehensive range of output options tailored specifically for Pro Tools users.
- Select the Timeline: Click on the timeline you want to export in the timeline viewer.
- Render Setting: Select the Pro Tools Preset via the Deliver tab.
2. Disable Video Option
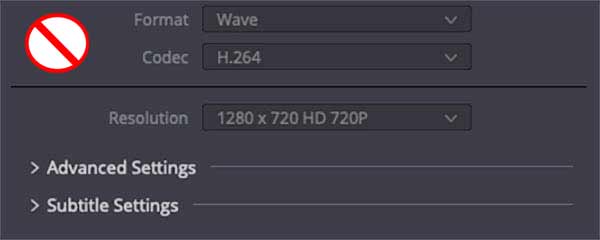 On the Video tab, uncheck the export video option. We don’t want the video exported with the AAF process. You will export a custom reference video file later to send along with the AAF.
3. Export Audio
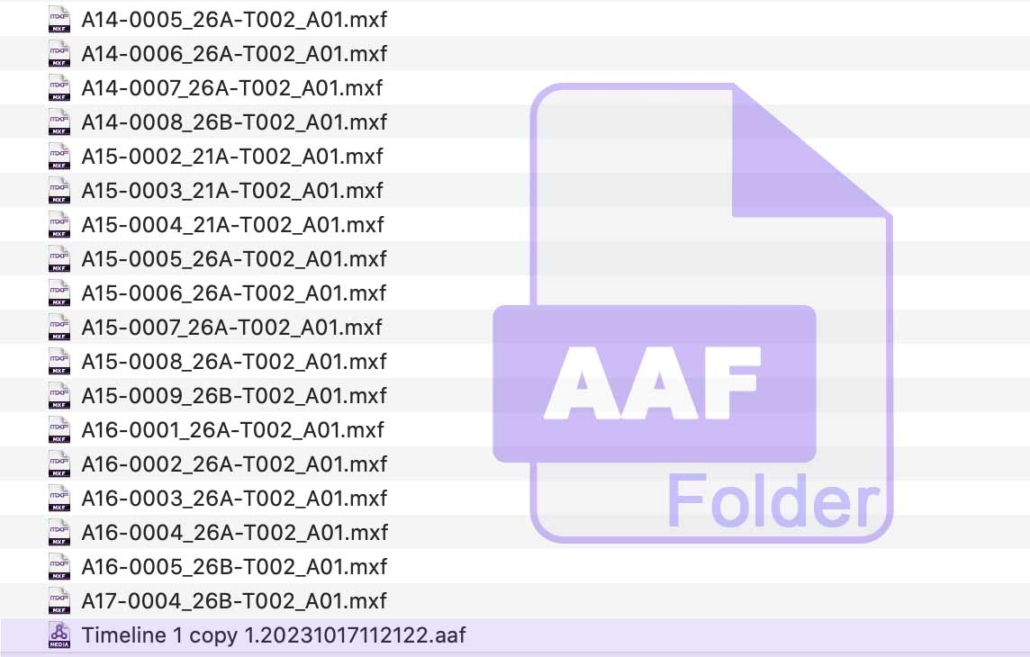
 In the Audio tab, check “Export Audio” and select Linear PCM from the dropdown menu. This will create both an AAF file that acts as a reference point and a comprehensive folder housing all the relevant audio files. Disabling the video option is better suited for large feature film projects, as embedding the audio files can result in a significantly larger AAF file. This may cause the AAF to fail during export or import. We have found that fewer issues occur with this option is disabled.
4. Channels and Bit Depth

Select the “Same as Source” option in the dropdown menu and select 24-bit depth. Most distributors and audio post houses require 24-bit/48kHz audio files. It’s a good practice to produce your video with these settings.
4. Start Export
Once you’ve configured your AAF settings, click “Add to Render Queue.” Then, click “Start Render” to begin the export process. DaVinci Resolve will generate the AAF file.
It’s recommended to ZIP the AAF folder to make the size smaller for uploading to a file-sharing platform like Dropbox.
5. Confirm Export
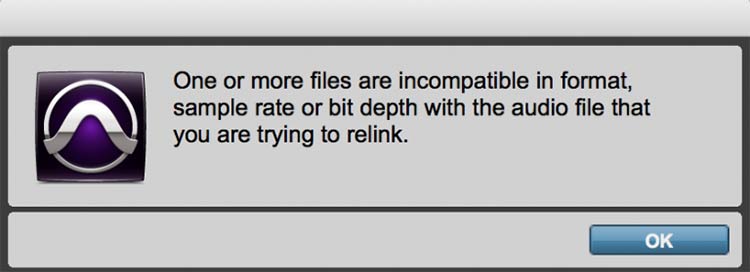 Let’s face it, things happen. This is why you should always check and confirm the AAF file works. Always load it back into your workstation software and confirm that it is not corrupted and loads perfectly before sending.
The last thing we want to hear from your audio engineer or post house is the project is delayed due to a corrupted file.
Opening the AAF in Pro Tools
-
Import AAF in Pro Tools
After the AAF export is complete, transfer the AAF file to your Pro Tools system.
-
Open AAF in Pro Tools
In Pro Tools, go to “File” > “Import” > “Session Data” and select the AAF file you exported from DaVinci Resolve.
-
Import Options
In the Session Data Import Options dialog box, you can customize how Pro Tools imports the AAF data. Make sure the settings match your preferences.
-
Import the Session
Click “OK” to import the AAF session into Pro Tools. Pro Tools will create a new session based on the AAF data, and you can start working with your audio and video.
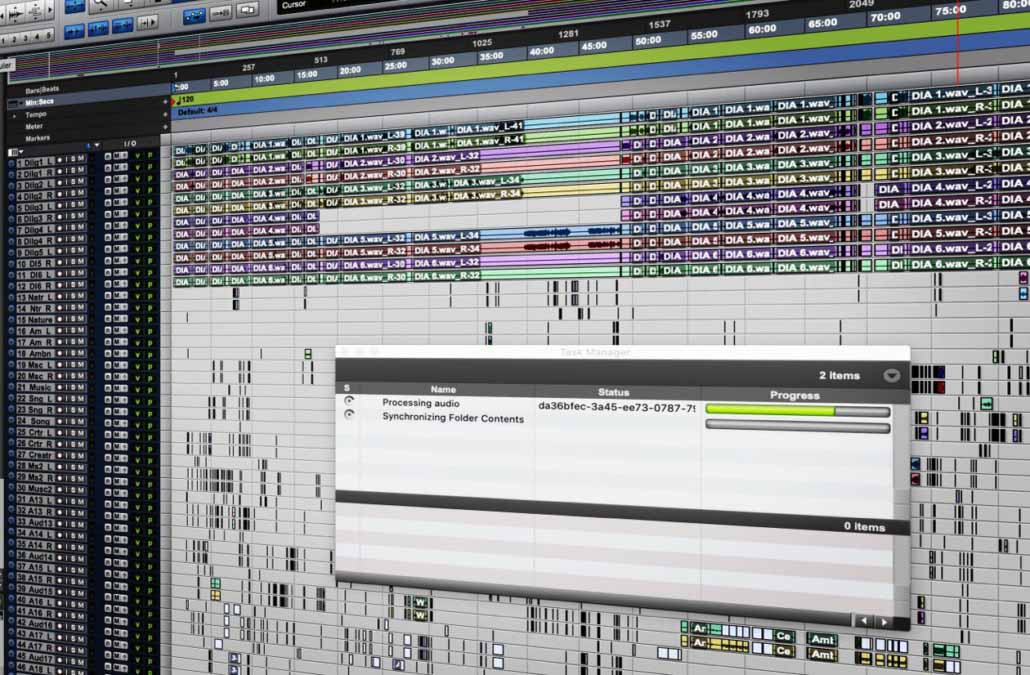
Photo: Importing an AAF file into Pro Tools from Davinci Resolve.
Keep in mind that not all effects, transitions, and complex features from DaVinci Resolve may transfer perfectly to Pro Tools. You may need to reapply some effects and make adjustments in Pro Tools, but this process should provide a good starting point for your audio work in Pro Tools.
Conclusion
When it comes to audio post-production, AAF is widely recognized as the industry standard. However, like any tool, it’s not flawless. There may be a bit of trial and error involved in linking and correcting all the files in the Pro Tools timeline. Nonetheless, using AAF is still an excellent solution for effortlessly transferring large sessions from your video editing program.
Our easy-to-follow steps will undoubtedly ensure a seamless and hassle-free AAF export process. Don’t worry about any complications – we’ve got you covered!
