Your First Home Recording Studio Setup: Essential Gear Checklist & Guide
Key Takeaways
- Choosing the right main studio computer is crucial for a smooth workflow in music production, as it acts as the hardware powerhouse for your home studio.
- When selecting a Digital Audio Workstation (DAW), prioritize user interface, available features, included plugins, and community support for better usability.
- Investing in a quality audio interface is essential for connecting microphones and instruments to your computer, ensuring better sound quality than built-in sound cards.
- Studio monitors should provide a flat frequency response for accurate audio representation, which is vital for making informed mixing decisions.
- Beginners can choose between USB microphones for simplicity or XLR microphones for higher quality, with XLR options requiring additional equipment like an audio interface.
Are you ready to dive into the world of music production, podcasting, or voiceovers? Excellent! Setting up your first home recording studio can seem daunting, but with this step-by-step guide, you’ll be creating in no time. We’ll cover all the essential gear and what to look for in each.
1. The Brain: Main Studio Computer
While the DAW is the software brain, your computer is the hardware powerhouse that runs everything in your home studio. Choosing the right computer is crucial for a smooth workflow. This prevents frustrating lag, crashes, and performance issues, especially as your projects become more complex.
Unlike software, which is often updated or replaced, your studio computer will be the brain of your workflow for many years. View it as a core investment in your production quality and efficiency, one that you don’t want to compromise on.
What to Consider For Your First CPU
Think of the CPU as the central engineer or commander of your entire audio operation. It’s the most critical piece of hardware because it’s the one doing the math for everything.
Here is what the CPU is commanding in a home studio environment:
- Running Your Main Music Software (DAW): It manages the core functions of your recording platform (like Pro Tools, Ableton Live, Logic, etc.).
- Processing Effects and Mixes: It calculates the complex sound for every single effect (reverb, chorus, delay, distortion) on every track in your project.
- Generating Virtual Instruments (Plugins): It performs the real-time math needed to generate the sound of every virtual synth and instrument you use.
Will you need to be mobile (REMOTE)?
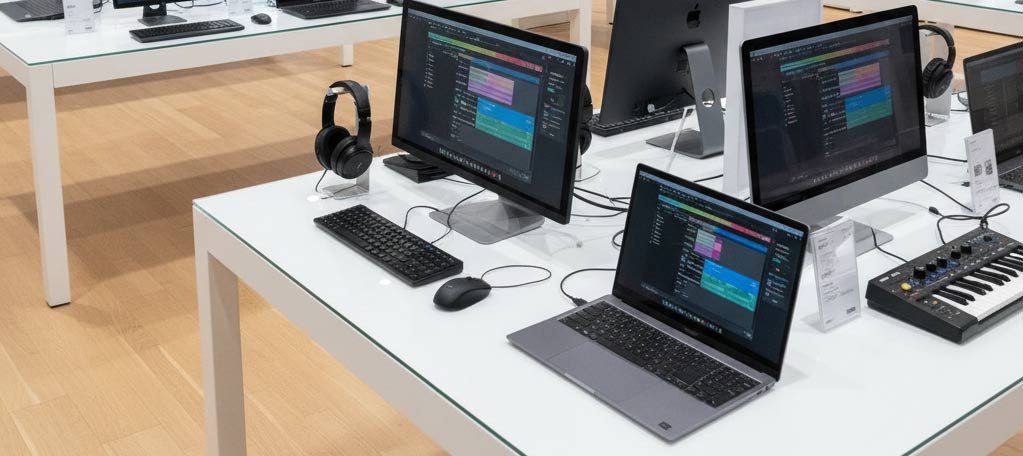
If your studio requires a remote, mobile, or portable setup, a powerful laptop is essential. This is a common requirement for freelancers and those who frequently change their work environment.
Key Remote Laptop Uses:
- Remote Field Recording: Capturing high-quality audio in locations outside of a dedicated studio, such as natural environments or specific indoor spaces.
- Stage & Live Performance: Utilizing virtual instruments, running complex digital mixers, or managing monitor/in-ear mixes directly from a portable rig on stage.
- Inter-Studio Mobility: Seamlessly transporting a full, personalized production setup—including session files, plugins, and custom templates—between personal, client, or commercial studios.
- The Traveling Freelancer: Maintaining a professional, full-featured workflow to meet production deadlines and client needs while traveling regularly for work.
Recommendation: Invest in the most powerful laptop your budget allows to handle demanding audio software and performance requirements while traveling.
Will the studio stay in one place (STAIONARY)?
If your recording setup will remain in your home or dedicated studio space, a desktop PC or Mac is recommended. This option generally offers:
- Superior Processing: Achieve more powerful processing and enhanced multitasking capability for demanding workflows.
- Sustained Performance: Benefit from superior cooling that maintains peak performance under heavy load.
- Future-Proofing: Enjoy better upgrade options that extend your system’s lifespan and allow for future enhancements.
Note on Mobility: If you also require a device for working on the road, remember to factor the extra expense of a separate laptop into your budget.
Production Focus:
- What type of audio production will you do? Simple singer-songwriter tracks require less processing than complex music scoring or mixing for film, which demands significant CPU and RAM resources.
Multimedia Needs:
- Will you also be editing video and other media? Video editing is highly demanding on your GPU (Graphics Processing Unit) and CPU. If you plan to mix music for video or create content, ensure your computer has a strong, dedicated graphics card in addition to a fast processor.
What to Prioritize: Cores and Clocks
You need an engine with both speed (measured in gigahertz/GHz) and multiple workers (cores). More cores allow your computer to handle dozens of tasks simultaneously—like running 50 separate tracks and effects without crashing.
- The Baseline Workhorse: Aim for a modern Intel Core i5 or AMD Ryzen 5. This provides enough “horsepower” to start producing and mixing moderately complex songs.
- The Power User’s Choice: Stepping up to an Intel Core i7 or AMD Ryzen 7 is highly recommended. This extra power ensures you can handle vast orchestral arrangements or heavy mixing projects for years to come without hitting a performance wall.
- Apple Users: Stick with the latest-generation Apple M-series chips (M2, M3, etc.). These are highly optimized for music production and offer phenomenal performance per watt.
Popular Laptop Options for Audio Production
Mac Laptops (macOS)
Note on Macs: Apple’s unified memory (RAM) is extremely fast. However, it is not upgradeable after purchase, so it’s critical to buy a configuration with enough RAM (e.g., 16GB as a minimum, 32GB or more recommended for heavy work).
Mac Desktop Options
Windows PC Laptops
Windows PC Desktop Options
RAM (Memory) – The Work Space
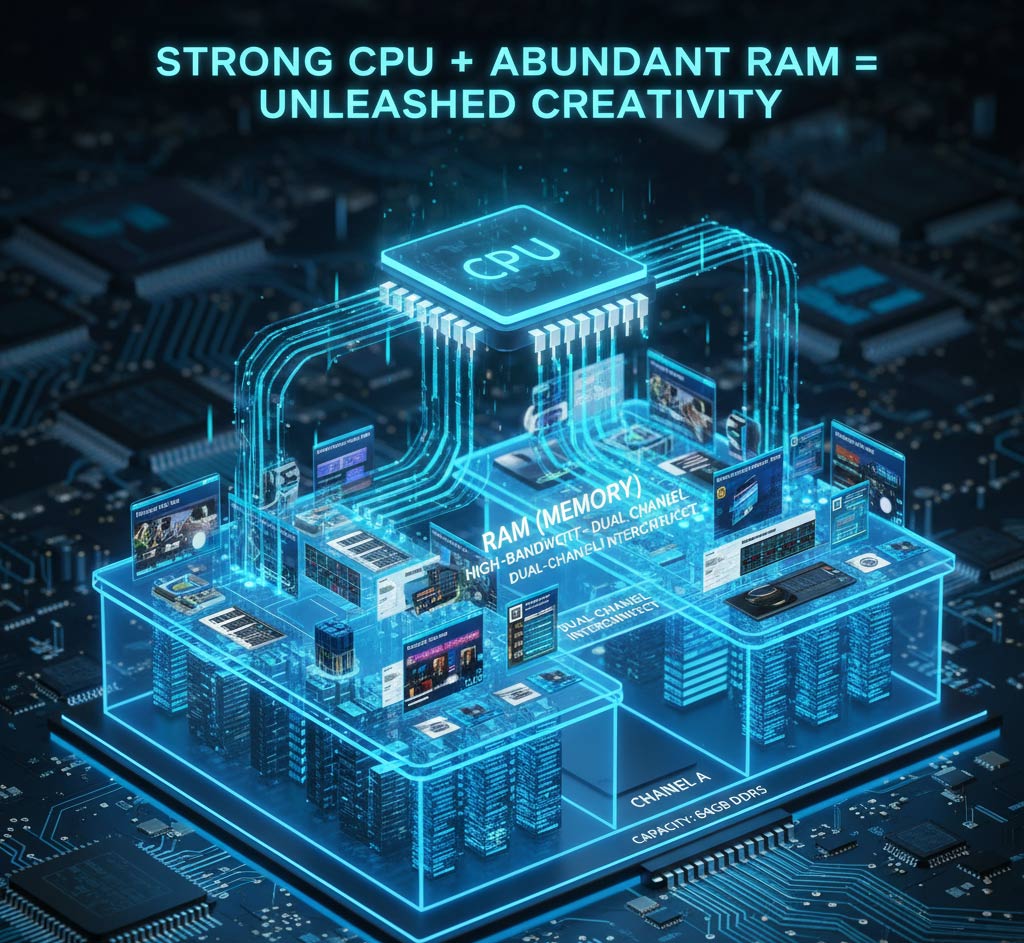
RAM is the computer’s short-term memory or its desk space. It holds all the information your CPU is working on right now. When you open a project or load a massive piano sound (called a sample library), the RAM quickly grabs all that data.
What to Look for: RAM
- Minimum Goal (Essential): 16GB. This is the essential baseline for a functional DAW setup.
- Recommended: 32GB or more. This is highly recommended if you plan to use large sample libraries or many tracks/plugins. It prevents slowdowns and system crashes.
The Bottom Line: More RAM directly translates to the ability to load bigger, more detailed instrument sounds and run more effects simultaneously without performance issues. Too little RAM will quickly result in lag and frustrating slowdowns.
Storage (SSD vs. HDD) – The Filing Cabinet
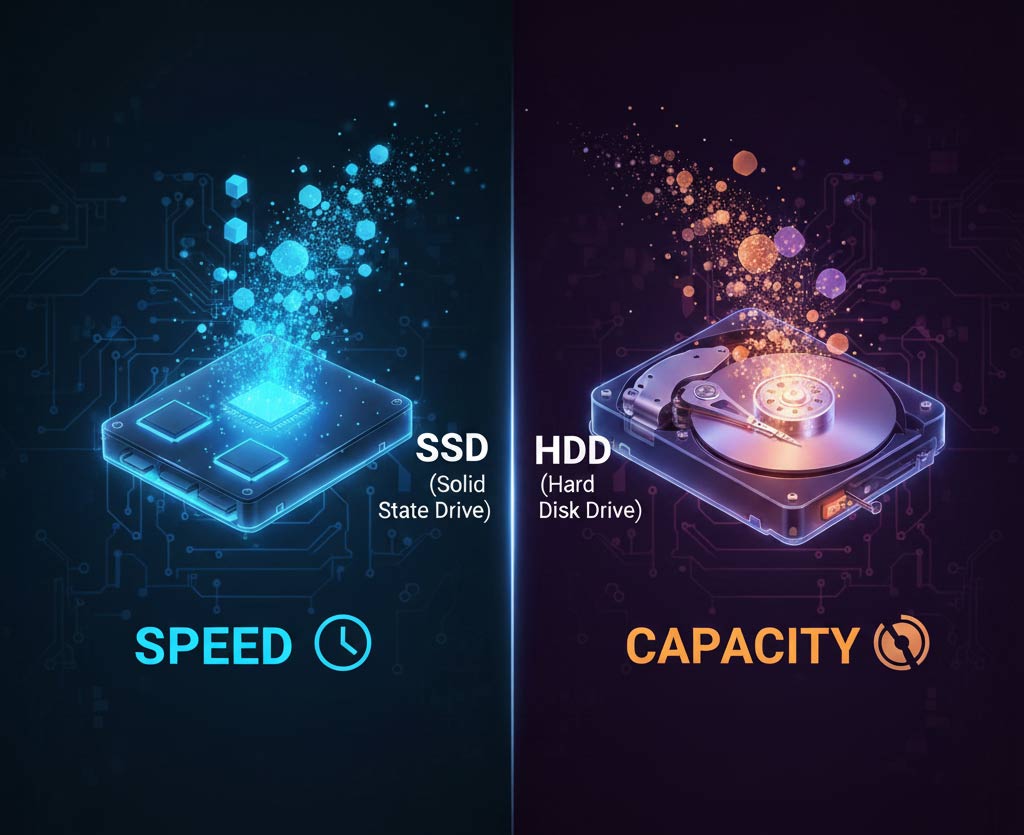
A hard drive is where your computer keeps everything saved, such as music, software, the operating system, and all your audio files. Since this component safeguards all your critical project work, it is essential to choose a highly reliable and trusted brand. A failure here means losing your work.
Why choose an SSD?
You absolutely need an SSD (Solid State Drive). Think of it as a super-fast digital library. It lets your music software load almost instantly, and your big media projects open lightning fast. Traditional HDDs (Hard Disk Drives) are too slow for most media projects and will cause long waits.
Hard Drive Setup Tip
For optimal performance and safety, follow the “Three-Drive” approach:
- Internal SSD (OS & Apps): This drive is dedicated only to your computer’s Operating System and your core music software (DAW). Keeping it light ensures the fastest possible boot-up and application loading times.
- External SSD 1 (Active Projects): Use this dedicated, fast drive for all your current, active project files. This not only provides a clean, fast workspace but, crucially, ensures your valuable work is backed up and instantly accessible even if your main computer ever has a failure.
- External SSD 2 (Samples & Libraries): Use this separate drive for all your massive instrument sample libraries (e.g., orchestral sounds, realistic pianos). Separating these large files prevents them from “bottlenecking” and slowing down your active project drive, allowing your big instruments to load quickly.
Dedicated Backup & Archiving
Finally, dedicate at least one separate drive exclusively for backups and archiving. Data loss is a matter of when, not if. While working on your active project drive, establish a routine to frequently save a copy of your work to this archive drive. Back up often!
Connecting Your Studio: Ports, Docks, and Interfaces
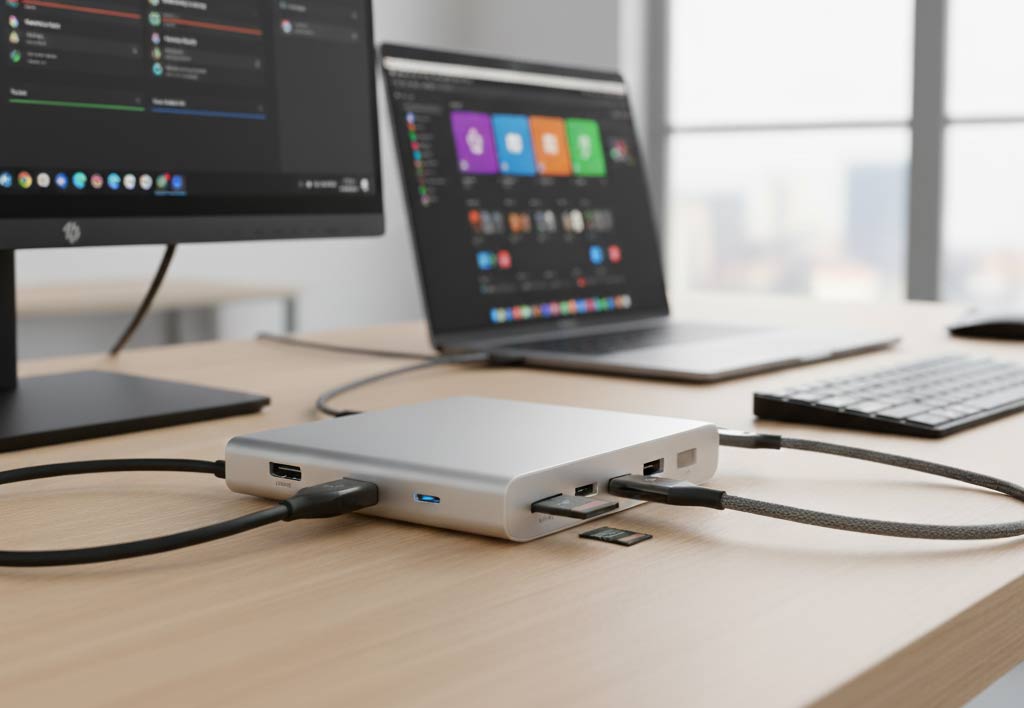
What Are Ports?
Ports are the physical connection slots on your computer where you plug in your gear. For audio production, you’ll primarily use these to connect essential peripherals like your audio interface (which handles high-quality sound input/output) and MIDI controllers (such as keyboards, drum pads, and control surfaces).
What to Look For: USB and Thunderbolt ⚡
The most common connection for modern studio gear is USB. When setting up your rig, ensure your computer or dock has enough USB ports to accommodate all your devices.
- USB Type-A (Older, rectangular): Still widely used by many audio interfaces and controllers.
- USB Type-C (Newer, oval): The standard on modern laptops. It often supports the faster Thunderbolt protocol, which is excellent for high-performance audio interfaces that require high bandwidth and low latency.
The USB-C/Thunderbolt Dock Solution
Modern laptops often have limited I/O (Input/Output), typically featuring only a few USB-C or Thunderbolt connections. To handle the numerous devices in a studio setup, you must invest in a USB-C or Thunderbolt dock.
A high-quality dock connects to a single port on your laptop and instantly expands your connectivity, providing:
- Multiple USB ports (Type-A and Type-C) to handle your audio interface, MIDI controllers, and USB hubs.
- HDMI/DisplayPort for connecting external studio monitors.
- Power Delivery (PD) to keep your laptop charged through the same cable.
Pro Tip: Choose a dock that is explicitly Thunderbolt-certified if you use a high-channel count audio interface to ensure maximum data transfer speed and minimal latency.
Portable USB-C docks typically focus on essential ports like HDMI, USB-A, and Power Delivery (PD) pass-through. Some specific, highly-rated models include:
2. The Foundation: Digital Audio Workstation (DAW)
The DAW (Digital Audio Workstation) is the core software of your studio. It’s the digital workspace where all the magic happens: you record, cut, paste, arrange, mix, and polish your production.
You need to feel comfortable with the software. Take some time to test a few, if possible! Being at ease with the layout and workflow means you’ll spend less time fighting the program and more time being creative and finishing songs quickly. What DAW you select will most likely stick with you for many years.
What to Look For in a DAW
- User Interface: Is it intuitive? Can you easily navigate and find the functions you need? Many DAWs offer free trials, so test them out!
- Features: Does it have the tools you need for your specific purpose (e.g., strong MIDI capabilities for electronic music, robust audio editing for podcasts)?
- Included Plugins/Instruments: Many DAWs come bundled with virtual instruments, effects, and processors, saving you money on third-party purchases.
- Community/Support: A strong online community or readily available tutorials can be invaluable when you’re learning.
- Popular Options: Ableton Live, Logic Pro X (Mac only), FL Studio, Pro Tools, Cubase, Reaper (very affordable) Studio One.
Here is a list of the most popular DAW software for beginners and home recording studios, including excellent free options:
Free & Beginner-Friendly Options (Great Starting Points)
Top Professional-Grade DAWs (Industry Standards)
These DAWs all offer excellent features and are used by professionals worldwide. They often have an initial price tag but are considered powerful long-term investments.
3. The Translator: Audio Interface
 An audio interface is crucial for connecting your microphones and instruments to your computer and converting their analog signals into digital data that your DAW can understand (and vice-versa for playback). It also typically provides better quality preamps than your computer’s built-in sound card.
What to Look For in an Audio Interface
- Inputs/Outputs (I/O): How many microphones or instruments do you plan to record simultaneously? Most beginners start with 1-2 inputs. “Phantom power” (+48V) is essential for condenser microphones.
- Connectivity: USB is the most common and convenient for home studios.
- Preamp Quality: Good preamps are vital for clean, clear recordings. Look for interfaces from reputable brands.
- Sample Rate/Bit Depth: Higher numbers generally mean better audio quality, but for most beginners, 24-bit/48kHz is more than sufficient.
- Popular Options: Focusrite Scarlett series, Universal Audio Volt series, PreSonus AudioBox, Behringer UMC series.
This is a list of some of the most popular and highly-regarded beginner audio interfaces for recording quality vocals and single instruments that won’t break the bank. Prices are subject to change and may vary based on retailer, sales, and current generation/edition.
4. The Ears: Studio Monitors
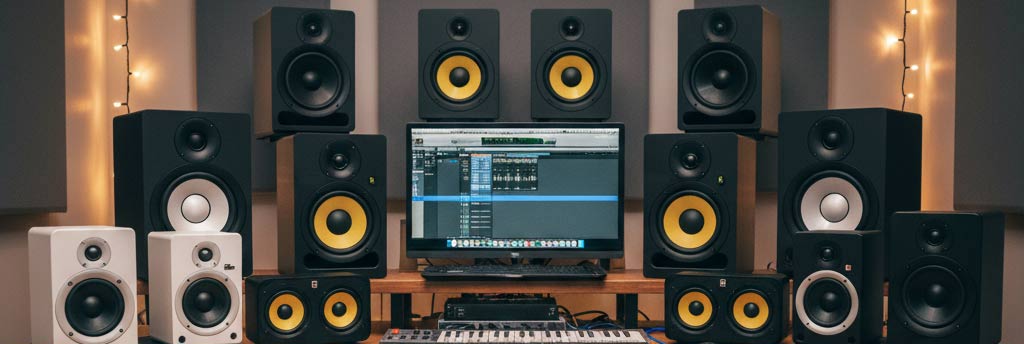 While headphones are great for tracking, dedicated studio monitors (speakers) provide an uncolored, accurate representation of your audio, which is crucial for making informed mixing decisions. Consumer speakers often boost certain frequencies, giving you a misleading idea of how your mix truly sounds.
What to Look For in Studio Monitors
- Flat Frequency Response: This is key. You want speakers that reproduce sound as accurately as possible, without boosting or cutting specific frequencies.
- Size: For a small home studio, 5-inch or 6-inch woofers are usually ideal. Larger speakers can be too powerful for untreated rooms.
- Active vs. Passive: Active monitors have built-in amplifiers, meaning you don’t need a separate amp. This is standard for most home studio setups.
- Room Acoustics: Even the best monitors will sound bad in a poorly treated room. Consider acoustic treatment down the line.
- Popular Options: KRK Rokit series, Yamaha HS series, JBL LSR series, Adam Audio T series, Kali Audio LP series.
Here is a list of some of the most popular beginner studio speaker monitors, typically sold as single units or pairs, with their common starting price for a single speaker where available, and a link to a product page for reference: (*Prices are approximate starting prices from major online retailers and are subject to change.)
5. The Voice: Microphones
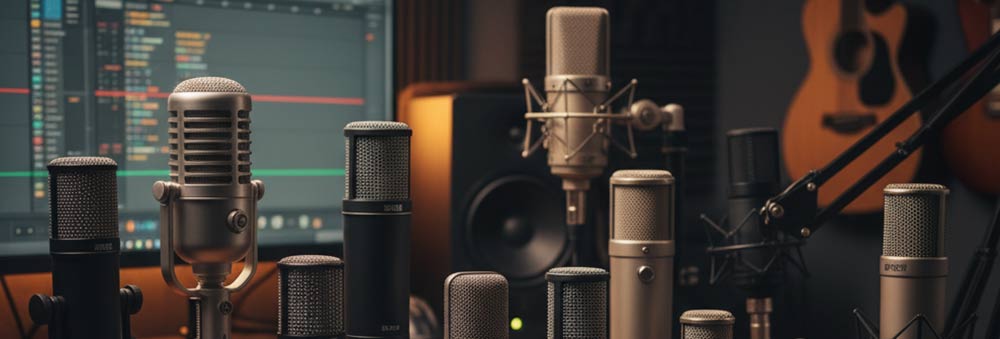
If you are just starting your recording journey, the sheer number of microphone choices can feel impossible. Don’t worry about all the technical specs yet! When you strip away the jargon, your first decision comes down to what you plan to record and how you want to connect it to your computer.
Here is a simple breakdown of the two main choices for a beginner:
A. The Easy Option: The USB Microphone
What it is: A microphone that plugs directly into your computer’s USB port, just like a flash drive. It has all the necessary electronics built inside.
Pros (Why it’s great for beginners):
- Simple Setup: No extra gear needed. Plug it in and start recording.
- Affordable Start: It’s an all-in-one purchase.
- Great for Speech: Excellent for podcasts, voiceovers, streaming, and online meetings.
Cons:
- Less Flexible: You can’t easily upgrade components later.
- Not Pro Quality: While the sound is good, it won’t match a professional setup for music.
BEST FOR: Podcasters, Streamers, YouTubers, and anyone on a tight budget who wants to record just their voice.
B. The Pro Option: The XLR Microphone (Requires Extra Gear)
What it is: A microphone that uses the standard 3-pin cable (called XLR). These mics deliver a higher-quality, “unprocessed” signal but require a separate device called an audio Interface to connect to your computer.
Which microphone should you buy FIRST?
For a beginner setting up a home studio, several highly popular and well-regarded microphones offer excellent sound quality for their price point. These are often divided into two categories: Condenser Microphones (great for capturing detail, usually require an audio interface with phantom power) and USB Microphones (convenient, plug-and-play, no interface needed).
Here is a list of some of the most popular beginner home studio microphones with their starting price and a product link: (*Prices are approximate starting prices from major online retailers and are subject to change.)

