Audiobook Self Recording Guide | Steps and Process
The Recording Process
Are you ready to embark on the exciting journey of recording your own audiobook? In this article, we will explore valuable tips and insights to help you navigate through the audiobook production process with confidence. From setting up your recording space to perfecting your narration technique, we’ll cover all the essential aspects to ensure that your audiobook is nothing short of exceptional. So grab your microphone and let’s dive into the world of self-recording and audiobook production!
Feel Comfortable During Recording
To ensure a comfortable recording experience, it is crucial to set up your recording space thoughtfully. One essential element is having a stool or chair next to you to rest your back and feet during breaks. However, it is important to avoid using swivel chairs as they can create unwanted noise in the recording.
Another key factor for a smooth recording process is placing your manuscript on a music stand or slanted table. This positioning allows you to maintain proper posture and easily follow along with the text while narrating. By having your manuscript at eye level, you can avoid unnecessary strain on your neck and ensure accurate reading.
Keep the Recording Rolling
One practice the narrator can do when recording is to keep reading and not stop after making a mistake. This will help the narrator keep a constant tone, speed, and cadence throughout the audiobook.
If the voice talent makes a mistake during recording, the talent should pause, leave a gap, and pick up from the previous sentence. The gap will allow the audio editor to see the mistake and fix it accordingly during the editing process. This also saves time during the recording process as the audio engineer does not have to stop the recorder. Another tip is to use a clicker, clap, or snap between the pauses to alert where the retake is. This will be noticeable in the audio waveform to edit.
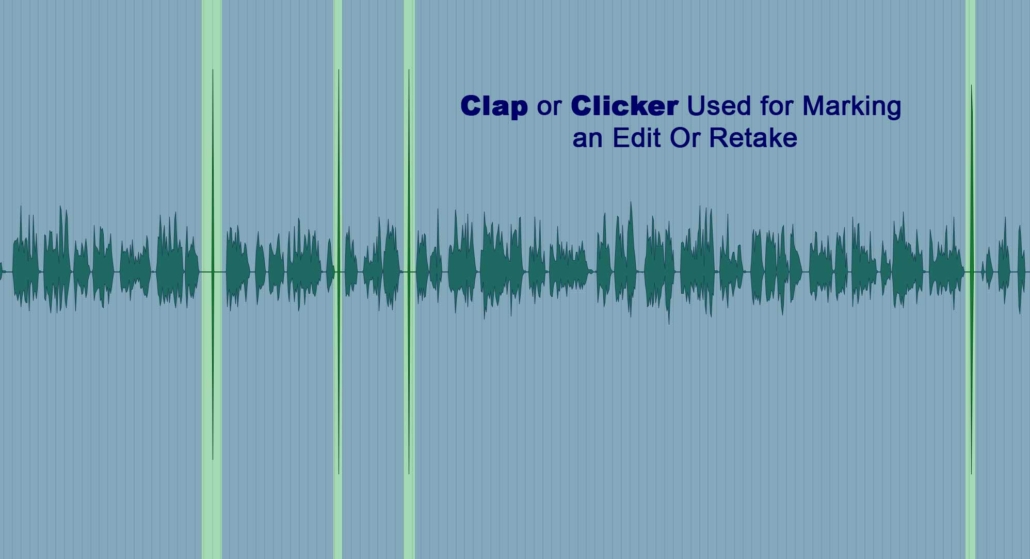
This photo shows an example of a clap used to show the sections where an edit or retake was made while recording an audiobook.
Record Entire Sections
It is essential to record an entire section per sitting, for example, each chapter. If the session is 3 hours, the narrator should be able to read about 2 or 3 chapters. This would be 3 sittings in the session with three breaks. Have the narrator record the entire chapter with retakes on the fly. Take a break in between each section or chapter.
Listen to the Previous Recordings of the Audiobook
When it comes to recording larger audiobooks, maintaining consistency in tone, speed, and cadence is crucial. To achieve this, it is essential to listen to the previous recordings before continuing with the next session.
Recording an audiobook over multiple days can create variations in voice quality or delivery style. By taking a few minutes to review the previous recording, you can ensure a seamless transition and maintain a cohesive listening experience for your audience.
Listening to the previous recordings allows you to reconnect with the character voices or narrative style you have established. It helps you stay in sync with the overall mood and atmosphere of the story, ensuring that each chapter flows smoothly into the next.
Reduce Room Echo and Unwanted Noise
 If you are recording the audiobook yourself, here are important things to remember:
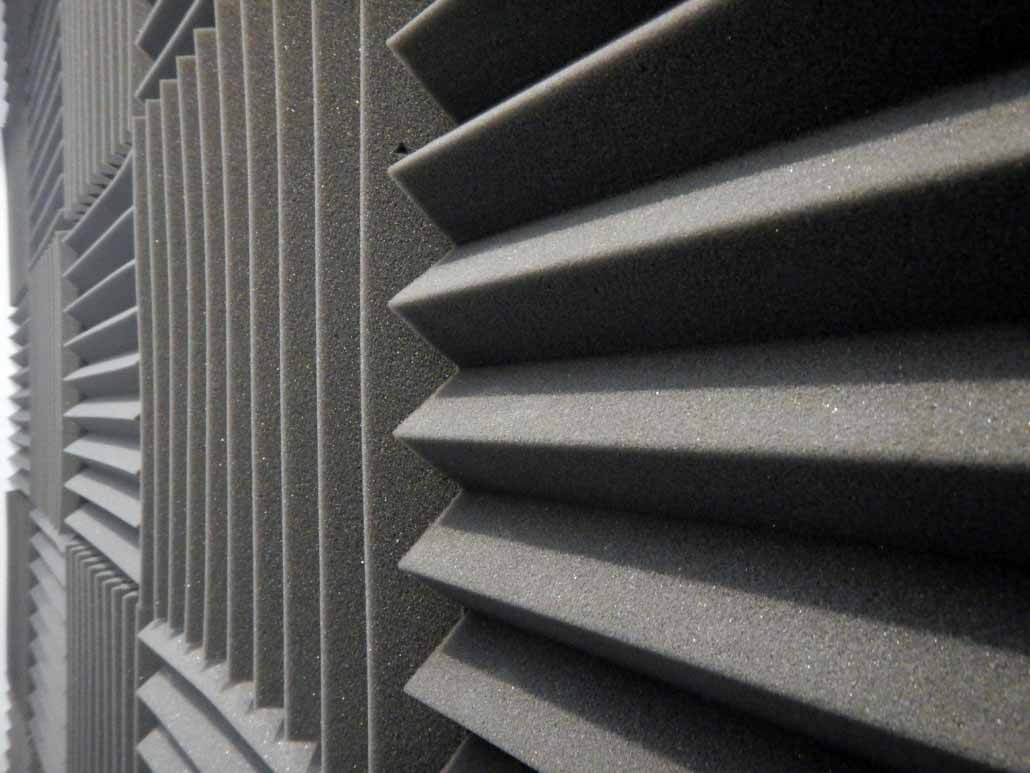
• Reduce room echo as much as possible. Put up acoustic panels, sheets, or curtains where audio reflections are problematic. Refrain from having mirrors, tables, and items near the recording source as this will cause sound to reflect.
• Record in medium and small rooms. Larger rooms can add unwanted room echo and noise.
• Close all windows and doors to reduce background noise.
• Turn off all noisy equipment such as air conditioners, and computer fans that will get in the recording.
• Record during selected times that are less active with coworkers, family, and outside activity.
• Refrain from excessive page turns and writing during the recording. If you must write or make a page turn, stop narrating and then continue after turning the page while the recording is still rolling. You can have your script on an iPad or tablet to eliminate any page-turn sounds.
• Use a pop filter in front of the microphone to reduce “P” pops.
• Attach the microphone to a boom stand and do not sit it on a desk. Any movement on the desk such as hand taps and bumps will transmit to the microphone if not on a separate stand.
• Do not record in a corner or face close to a wall as this will cause unwanted sound reflection and bass build-up.
• Record positioned about 4 to 6 inches from in front of the microphone.
Reducing Mouth Clicks During Recording

When recording for a long period, the mouth can become dry and the throat irritated. Drinking a lot of water is not always the best solution because too much moisture in the mouth causes different types of noise such as throat and stomach sounds. Here are some tips to remedy these situations:
• Chew sugar-free gum. Be sure to take the gum out of your mouth before recording.
• Take frequent breaks while recording and siping room-temperature water during the break. Do not drink cold water or beverages during the recording session. This will constrict the vocal cords.
• Drink room-temperature apple juice. Green apples in particular can reduce mouth clicks and smacks.
Record at moderate signal levels and do not over-compress
When recording your audiobook, it is good practice to record –5 dB from absolute ‘0’ dBFS. This means you should have your normal narration signal level 5 dB lower before the peak level of ‘0’. This will ensure that there is plenty of headroom lowering the chances of audio clipping during loud sections of the recording.
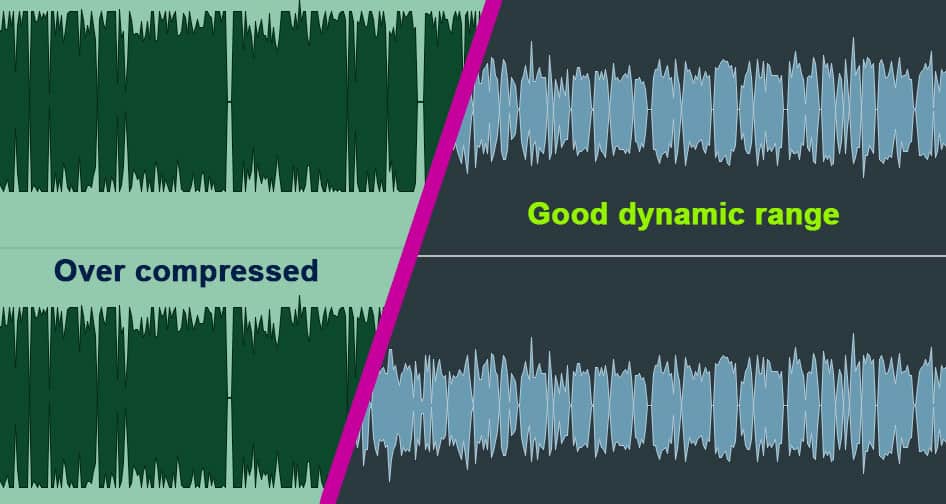
This image shows an over-compressed voiceover track with clipping occurring (left) compared to a properly recorded track (right).
Retakes During the Proofing Process
When doing retakes for an audiobook, it is important to keep a consistent tone and cadence as the original recording. The following are important procedures and tips to keep in mind when doing retakes.
Do not record just one word that needs to be replaced.
When doing a retake, it is best to record the entire sentence or phrase. This will give the audio engineer space to edit the retake seamlessly.
Listen to the original recording to make note of the following:
• Pitch and tonality
• Speed and cadence
• Character
Record 2 or 3 variations for a retake:
• This will give options during the editing process.
Retake Header
• Record a header announcement at the start of each retake (e.g., Chapter 1).
Labeling the Retake Files:
• When labeling the retake files be sure to include the section title, take number, and timecode location of the take. Example: CH-1_Retake-1_12.14.wav (CH= Chapter, 1= Take number, 12.14 = Timecode 12:14)
Technical Requirements
Technical guidelines for audiobook recording specs:
• Each final mastered recording must not exceed 120 minutes. If the chapter is over 120 minutes it will have to be separated during mastering.
• Each chapter must begin with at least a 3-second pause and then a header announcement (e.g., Chapter 1).
• All audio must not peak over -4db during the recording process to reduce the chance of audio clipping.
• There should be minimal unwanted noises and distortions and a noise floor of -65db or lower.
• The file must be recorded at 16-bit/44.1 kHz or above in WAV format.
• The recording settings should remain the same during the entire audiobook production. This includes distance from the microphone, the type of mic, room, EQ, and other front-end processing.
• When sending the finished audio recordings do not add processing such as compression, limiters, noise gates, or noise reduction. This will be done during the mastering stage.
Tips When Editing Audio
If you wish to edit the audio before sending it to us for mastering follow these tips:
• Between each edit add a crossfade. This will eliminate pops and clicks between the edits. Many audio software programs now have an auto crossfade feature to eliminate pops between region clips.
• Make sure the audio sections are in the same level range. Joining two audio recordings that are either louder or softer than the other will result in noticeable edit points.
• Maintain room tone and breaths between audio edits.
• Record room tone to add during gaps and breaks in the narration.
These recording steps, procedures, and technical requirements should help you produce your audiobook with a more streamlined and knowledgeable understanding of the overall process.
Ready to send your audio files for editing and mastering?
- Export all audio files no lower than 16 bit/44.1k Wav files. Both mono and stereo are accepted. No lossy formats such as mp3.
- All exported audio should not have extra processing such as extensive EQ, heavy compression, limiting, noise reduction, or effects. Light compression and EQ are satisfactory as long as it is at the same settings during the recording process.
- If the audio has already been edited, be sure it is free of region clipping. No head or endpoints are cut off and have some crossfades.
- When sending unedited audio, please include all outtakes, voice cues, and retakes preferably all in the recorded file per section.
- Label all audio files according to the table of contents of the audiobook numbered in order such as: Opening credits, 2. Introduction, 3. Chapter 1, etc. See the example below.
- Include the final book script, eBook, or Kindle version for reference. The print version can also be mailed.
- Include any notes that may be helpful to the editing process.
- Copy all audio files in a folder and send them using your preferred file-sharing platform such as Dropbox, Google Drive, WeTransfer, etc. Do not send files as email attachments, please.
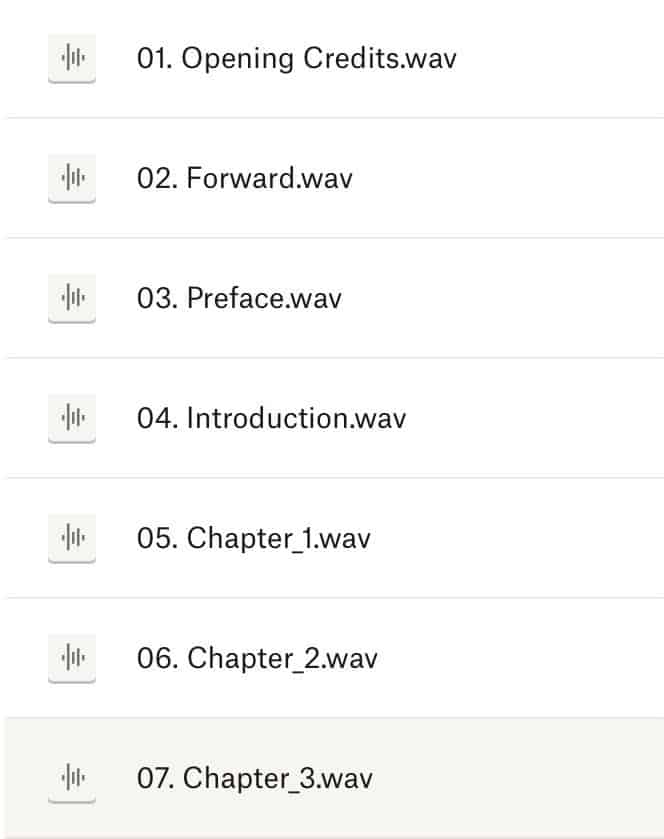
The above image is an example of audiobook WAV files numbered and labeled with the section title for editing and mastering.
In conclusion, we have provided you with valuable tips and steps for recording your audiobook. We understand the effort and dedication it takes to bring your words to life.
Once you have completed the recording process, we encourage you to consider our audiobook editing and mastering service. Our team is skilled in enhancing audio quality, eliminating background noise, and ensuring a seamless listening experience for your audience. Whether you are a seasoned author or just starting out on this exciting journey, our professional assistance can make all the difference. Don’t hesitate to reach out – we’re here to lend a helping hand when you need it most.


